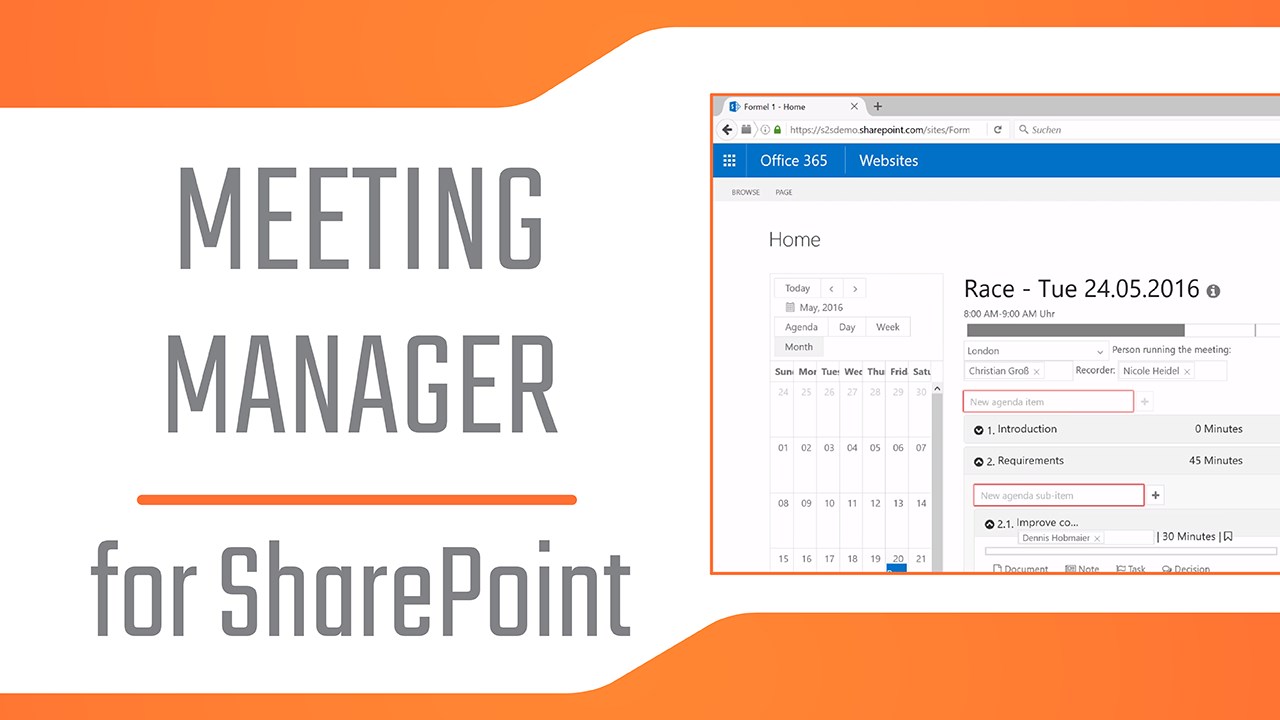
Creating a Meeting Manager Tool in SharePoint can streamline the process of organizing and managing meetings within your organization. This guide will walk you through the steps to build this tool using a modern SharePoint site, ensuring you have a central hub for scheduling, agenda sharing, and document management related to your meetings.
Step 1: Set Up Your SharePoint Site
Before you start, ensure you have a modern SharePoint site created. If you don’t have one, you can easily create it from the SharePoint home page by clicking “Create site” and then choosing the “Team site” option. Name your site appropriately, such as “Meeting Management.”
Step 2: Create Necessary Lists and Libraries
For a basic meeting manager, you’ll need the following components:
- Meetings List: To store details about each meeting.
- Agendas Library: To store and manage meeting agendas.
- Minutes Library: To store meeting minutes for future reference.
To create these, go to your SharePoint site:
- Click on “New” and then choose “List” or “Library.”
- Name your list or library (e.g., Meetings, Agendas, Minutes).
- Add necessary columns to each list or library, such as Date, Time, Participants, and Discussion Points for the Meetings List.
Step 3: Customize Forms with Power Apps
To make your Meeting Manager more user-friendly, customize the forms people use to enter data into your lists. SharePoint integrates with Power Apps, allowing you to create custom forms:
- Go to the list you want to customize, such as Meetings.
- Click on “Integrate” then “Power Apps” and select “Customize forms.”
- Use the Power Apps studio to add, rearrange, or style your form fields.
- Save and publish your app when done.
Step 4: Automate Notifications with Power Automate
Use Power Automate to set up workflows for your Meeting Manager, such as automatic reminders before a meeting or follow-ups for minutes submission:
- Go to “Integrate” and then “Power Automate” on your SharePoint site.
- Choose “Create a flow.”
- Select a template or build a new flow from scratch to automate tasks like sending reminder emails or creating tasks for meeting action items.
Step 5: Set Up Meeting Dashboards with SharePoint Pages
Create a SharePoint page to serve as a dashboard where users can quickly access all meeting-related information:
- Go to your SharePoint site, click “New” then “Page.”
- Design your page layout. Add web parts for your Meetings list, Agendas, and Minutes libraries.
- Include other useful web parts like Calendar, To-Do, or Document library for relevant resources.
- Publish your page to make it accessible to your team.
Step 6: Manage Permissions
Ensure that only authorized personnel can view or edit the meeting details:
- Go to each list, library, or page you’ve created.
- Click on “Settings” and select “Permissions for this list/library.”
- Adjust the permissions accordingly, ensuring that attendees can view but maybe not edit critical information.
Step 7: Train Your Team and Launch
Finally, provide training for your team on how to use the Meeting Manager tool. Share guidelines on how to schedule meetings, submit agendas, and upload minutes. Launch your tool officially and gather feedback for any needed improvements.
By following these steps, you can create a comprehensive Meeting Manager tool in SharePoint that helps your organization handle all aspects of meeting management more efficiently. This centralization not only saves time but also enhances the productivity of your team meetings.

Leave a Reply