Deleting unused SharePoint sites helps keep your system organized. But sites contain lots of information, so deleting them permanently erases all that content. This guide explains how to delete sites carefully.
Before You Delete

- Confirm you have permission: Only owners or admins can delete sites. If you’re not one, you’ll need to ask one to delete it for you.
- Check if others are still using the site: Review recent activity and storage. See if it still helps your team collaborate. Ask around to confirm if uncertain.
- Back up important documents or libraries: Export any content you might need later before deleting.
Step-by-Step Deletion Process

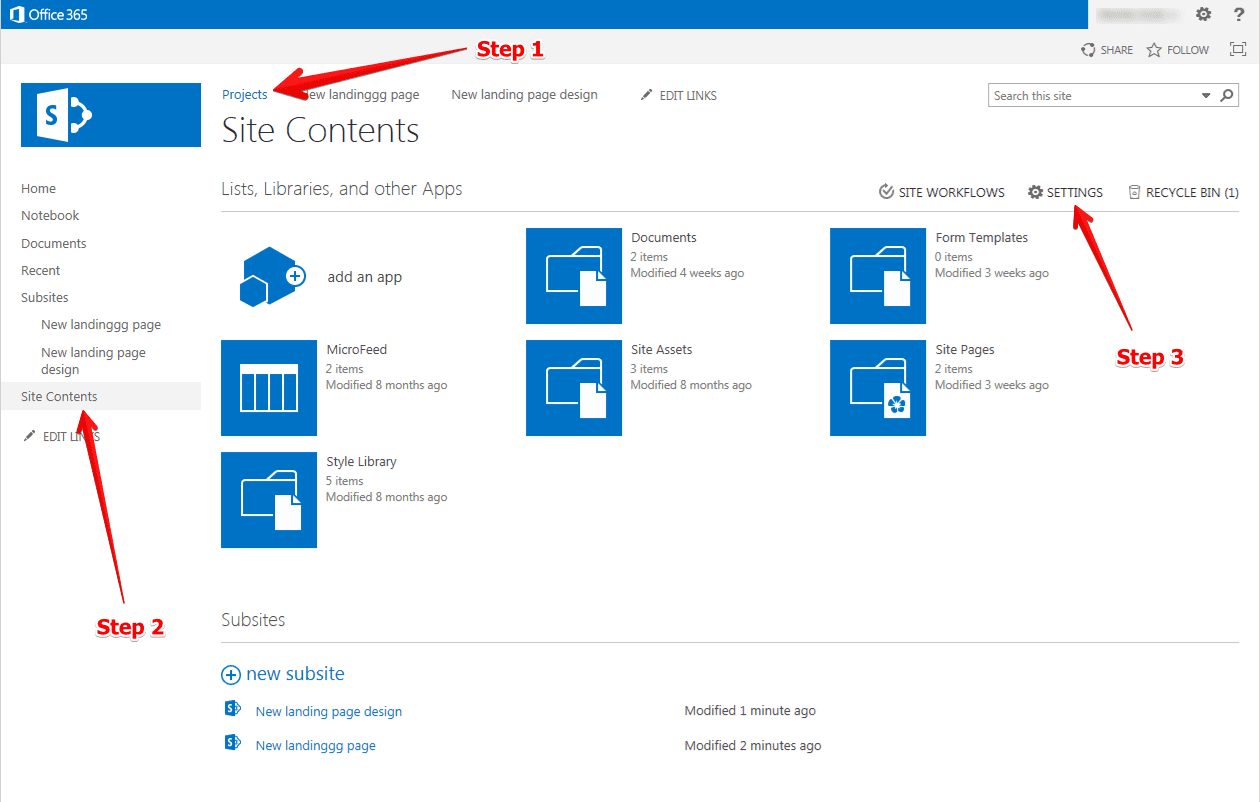
- Go to the site’s main page.
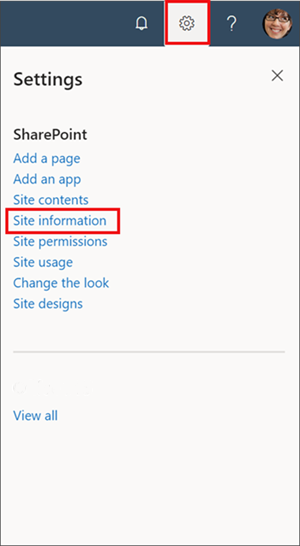
- Click the “Settings” icon on the top right.
- From the menu, choose “Site Settings”.
- Under “Site Administration”, select “Site information”.
- At the bottom of the page, click “Delete this site”.
- A warning will ask you to confirm. Click OK to proceed.
Recovery Options
Deleted sites get sent to a Recycle Bin where they stay for a set time. If deleted accidentally, you may be able to restore from there.
Things to Keep in Mind
- Inform site users beforehand if possible to avoid data loss.
- Consult your IT administrators if you have any concerns about the impact of deleting a site.
- Always backup vital documents, lists, or libraries before deletion.
Does this added detail help explain the key steps and considerations around deleting SharePoint sites? Let me know if you need any clarification or have additional questions.

Leave a Reply